You've filmed the perfect TikTok.
The lighting's good. The hook is sharp. You hit export.
And then... it looks like garbage.
Cropped text. Blurry footage. The whole vibe ruined because your dimensions were wrong.
This is the last time you'll ever need to Google "TikTok video dimensions."
Bookmark this page. Screenshot the tables. Tattoo it on your arm. Whatever works.
Let's get into it.

The TikTok Video Specs You Actually Need
Here's everything in one table. No fluff, no filler.
| Spec | Recommended | Minimum |
|---|---|---|
| Resolution | 1080 x 1920 px | 540 x 960 px |
| Aspect Ratio | 9:16 (vertical) | 9:16 |
| Frame Rate | 30 fps or 60 fps | 24 fps |
| Max File Size (iOS) | 287 MB | - |
| Max File Size (Android) | 72 MB | - |
| Max File Size (Web Upload) | 10 GB | - |
| Video Length (Min) | 1 second | - |
| Video Length (Max) | 60 minutes | - |
| Video Codec | H.264 | - |
| Audio Codec | AAC | - |
| Supported Formats | MP4, MOV, WebM | - |
| Bitrate | 516 kbps+ recommended | - |
That's it. That's the core.
1080 x 1920 at 9:16. If you remember nothing else, remember that.
Why These Numbers Actually Matter
"It's just dimensions, who cares?"
TikTok's algorithm cares.
When you upload a video with the wrong resolution or aspect ratio, a few things happen:
- TikTok compresses it further. Your already-okay quality becomes potato quality.
- It gets cropped automatically. That text you put at the bottom? Gone. Cut off by TikTok's UI.
- Lower quality = lower watch time. People scroll past blurry videos. Period.
- Less reach. TikTok has confirmed that video quality is a ranking signal. Low-res content gets suppressed.
Think about it. You're competing with millions of creators. If your video looks like it was filmed on a 2012 webcam, you've already lost.
The fix is dead simple. Get your export settings right once and never think about it again.
TikTok Safe Zones Explained
This is the part most creators miss completely.
Your video is 1080 x 1920. But TikTok's interface covers parts of your video with buttons, text, and UI elements.
If you put important content in those areas, nobody will see it.
Here's what gets covered:
| Zone | What's There | Safe Margin |
|---|---|---|
| Top | Status bar, back button, search | Keep text 150 px from top |
| Bottom | Caption, username, sound ticker | Keep text 440 px from bottom |
| Right Side | Like, comment, share, bookmark buttons | Keep text 100 px from right edge |
| Left Side | Username display | Keep text 60 px from left edge |
| Center Safe Area | Your actual visible content | Roughly 920 x 1330 px |
That center safe area is smaller than you think.
Almost 30% of your screen is covered by TikTok's UI.
So when you're adding text overlays, subtitles, or call-to-actions, keep everything within that center zone. Especially the bottom. The caption area eats up a huge chunk.
Pro tip: most editing apps now have a "TikTok safe zone" overlay template. Use it. Every single time.

Cross-Platform Video Specs Comparison
You're probably not just posting to TikTok. You're repurposing to Shorts, Reels, and maybe Facebook too.
Good news: the specs are very similar across platforms. Bad news: "very similar" isn't "identical."
Here's the full breakdown:
| Spec | TikTok | YouTube Shorts | Instagram Reels | Facebook Reels |
|---|---|---|---|---|
| Resolution | 1080 x 1920 | 1080 x 1920 | 1080 x 1920 | 1080 x 1920 |
| Aspect Ratio | 9:16 | 9:16 | 9:16 | 9:16 |
| Max Length | 60 min | 3 min | 15 min | 15 min |
| Min Length | 1 sec | 1 sec | 3 sec | 3 sec |
| Max File Size | 287 MB (iOS) / 10 GB (web) | 256 GB | 4 GB | 4 GB |
| Frame Rate | 30-60 fps | 30-60 fps | 30 fps | 30 fps |
| Video Codec | H.264 | H.264 | H.264 | H.264 |
| Audio Codec | AAC | AAC | AAC | AAC |
| Format | MP4, MOV | MP4, MOV | MP4, MOV | MP4, MOV |
| Watermark Penalty? | No* | Yes | Yes | Yes |
*TikTok won't penalize its own watermark, but YouTube and Instagram will suppress TikTok-watermarked videos.
The golden rule: export at 1080 x 1920, 9:16, H.264, 30fps, MP4.
That single export works on every platform.
The only thing you need to adjust per platform is the safe zones (each app has slightly different UI overlay positions) and length limits.

Want to skip the editing?
GhostShorts turns your ideas into viral shorts with AI voiceovers, captions, and gameplay clips. Ready to post in minutes.
Try GhostShorts TodayTikTok Profile Optimization Specs
Your profile is your storefront. Here are the specs you need to nail it:
| Element | Spec |
|---|---|
| Profile Photo Size | 200 x 200 px (displays as circle) |
| Profile Photo Format | JPG or PNG |
| Profile Photo Max Size | Under 5 MB |
| Username Length | 2-24 characters |
| Display Name Length | 1-30 characters |
| Bio Character Limit | 80 characters |
| Bio Link | Available with 1,000+ followers (or business account) |
| Profile Video | 1080 x 1920, up to 6 seconds |
A few things people get wrong:
Your profile photo displays as a circle. So if you upload a square image, the corners get cropped. Make sure your face or logo sits in the center with some padding around the edges.
80 characters for your bio is nothing. That's roughly one sentence. Make every word count. No "lover of life" or "just vibes." Tell people exactly what you do and why they should follow you.
Profile videos are underrated. Most creators still use a static photo. A short looping video instantly makes your profile feel more dynamic and professional.
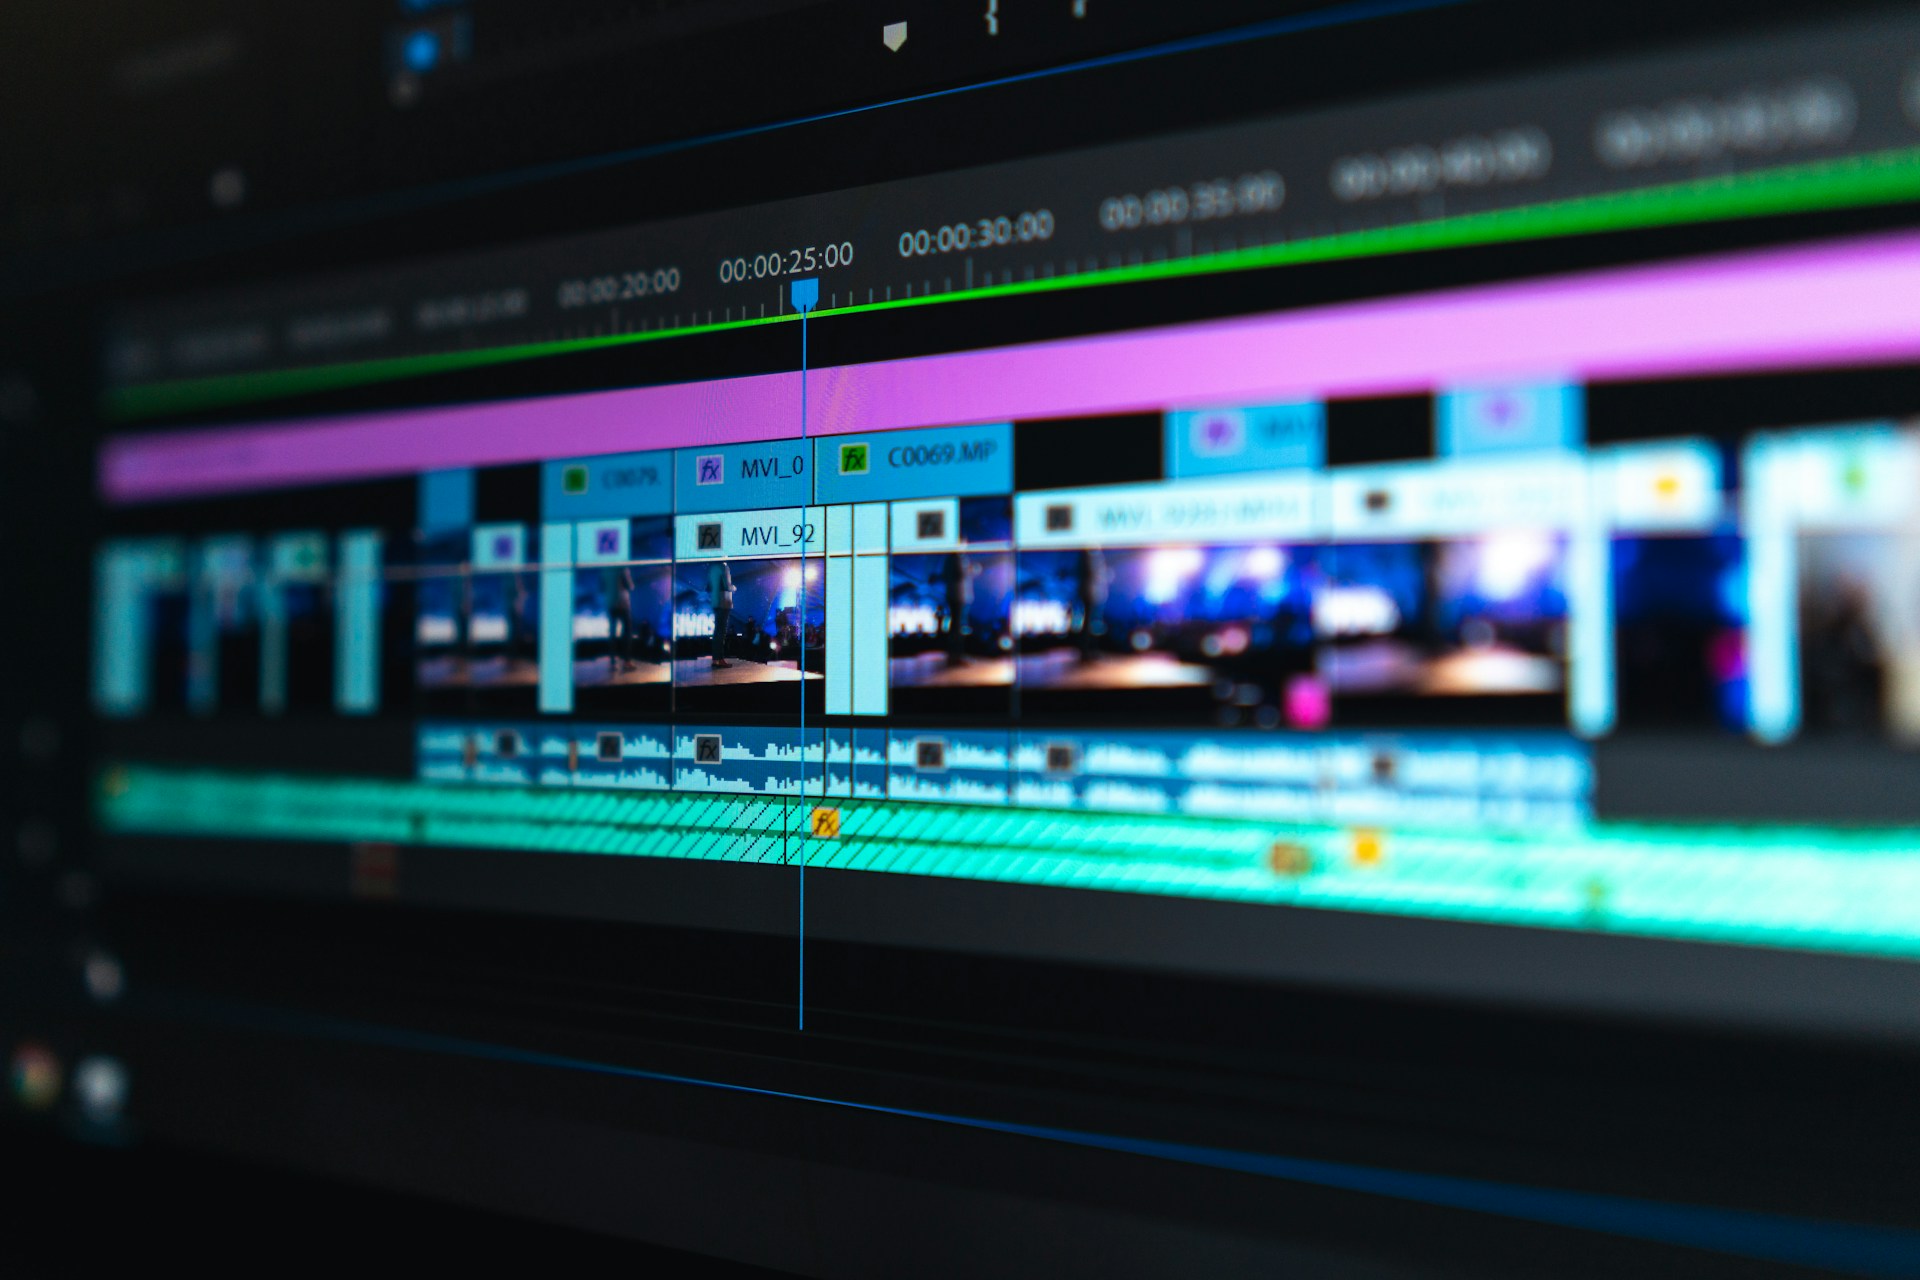
Export Settings Cheat Sheet
Here's exactly what to set in your editing software. Whether you use CapCut, Premiere Pro, DaVinci Resolve, or Final Cut, these settings are universal.
Video Settings:
- Resolution: 1080 x 1920
- Aspect Ratio: 9:16
- Codec: H.264 (also called AVC)
- Frame Rate: 30 fps (or 60 fps for fast-motion content)
- Bitrate: 10-15 Mbps for best quality
- Format: MP4
Audio Settings:
- Codec: AAC
- Sample Rate: 44.1 kHz or 48 kHz
- Bitrate: 128-256 kbps
- Channels: Stereo
Quick tips by editor:
CapCut: Default export settings are already TikTok-optimized. Just make sure you're at 1080p. You're good.
Premiere Pro: Go to Export > Format: H.264 > Match Source (then manually set to 1080 x 1920 if your sequence is different). Check "Use Maximum Render Quality."
DaVinci Resolve: Deliver page > Custom export > MP4, H.264, 1080 x 1920, 30fps. Set quality to "Restrict to 15,000 kbps" for a good size-to-quality ratio.
Final Cut Pro: Share > Master File > Settings: H.264, Resolution 1080 x 1920.
One thing to watch: file size after export. If you're uploading from your phone (not web), you need to stay under 287 MB on iOS and 72 MB on Android. For longer videos, that can be tight.
If your file's too big, run it through a free video compressor before uploading. It'll reduce the file size without destroying your quality.
7 Common Mistakes That Kill Your Video Quality
You know the specs now. Here's what to avoid:
1. Uploading in 16:9 (horizontal)
TikTok is vertical-first. If you upload a horizontal video, it gets either letterboxed (with black bars) or cropped. Both look terrible. Always shoot and export in 9:16.
2. Exporting Below 1080p
Some editors default to 720p. That's not good enough. TikTok will compress it further, and you'll end up with a mushy, artifact-filled mess. Always export at 1080 x 1920 minimum.
3. File Too Large
This happens a lot with longer videos. TikTok's mobile upload limits are strict (72 MB on Android). If your file is too big, it either fails to upload or gets aggressively compressed.
Fix: compress before uploading, or use the web uploader which allows up to 10 GB.
4. Text in the Dead Zones
Putting your key text where TikTok's UI covers it. The bottom 440 pixels are basically invisible to viewers. Always preview your video in TikTok's draft mode before posting.
5. Wrong Frame Rate
Filming at 24fps gives a "cinematic" look, but TikTok content performs best at 30fps or 60fps. The smoother motion keeps viewers watching. Save the 24fps for your short film.
6. Using the Wrong Codec
H.265 (HEVC) gives better quality at smaller file sizes, but TikTok's processing handles H.264 better. Some users report quality drops with H.265 uploads. Stick with H.264.
7. Re-Downloading and Re-Uploading
Every time you download a TikTok and re-upload it (even to the same platform), it gets compressed again. And again. And again. After 3-4 cycles, it looks awful.
Always keep your original export file and upload from that.
Quick Reference Card
Save this. Put it on a sticky note next to your desk.
The numbers that matter:
- 1080 x 1920 pixels
- 9:16 aspect ratio
- H.264 codec
- MP4 format
- 30 fps minimum
- Under 287 MB (iOS) or 72 MB (Android)
- 150 px from top, 440 px from bottom, 100 px from right for safe zones
For cross-posting: same export works everywhere. Just adjust length (3 min for Shorts, 15 min for Reels).
For your profile: 200 x 200 photo, 80-character bio, keep important stuff in the center of your profile pic.
Want to know when to actually post your perfectly-formatted video? Check our Best Time to Post tool.

That's the Whole Playbook
No more Googling. No more guessing. No more exporting at the wrong resolution and wondering why your video looks like it went through a washing machine.
Get the specs right once. Set up your export preset. Forget about it forever.
Now go make something worth watching.